Babylon.js で Meta Quest 3 で動く ES6 + Vite + TypeScript 開発構成を GitHub Codespaces で作ったメモ 2024 年 3 月版

Babylon.js で Meta Quest 3 で動く ES6 + Vite + TypeScript 開発構成を GitHub Codespaces で作ったメモ 2024 年 3 月版です。
今後も仕様が変わる可能性があるので 2024 年 3 月版としてます。
2024/03/28 に少し改修しました。
- ビルドに絡むコードと設定を追加
Github リポジトリの作成
新しいリポジトリを作ります。
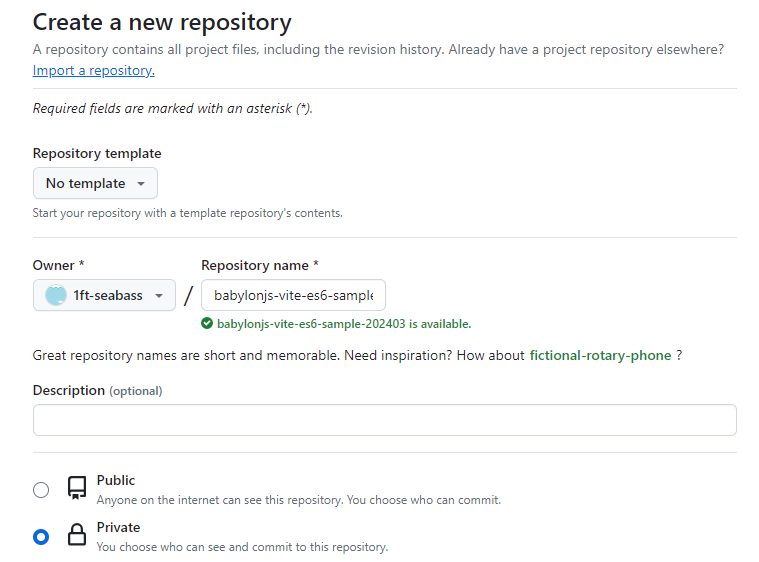
今回は名前を babylonjs-vite-es6-sample-202403 にしました。自分で作業するものなので Private でつくります。
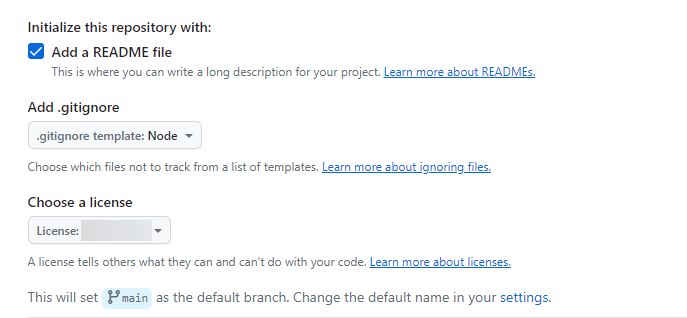
.gitignore は JavaScript の環境なので Node にしてます。
License や README はお好みで。
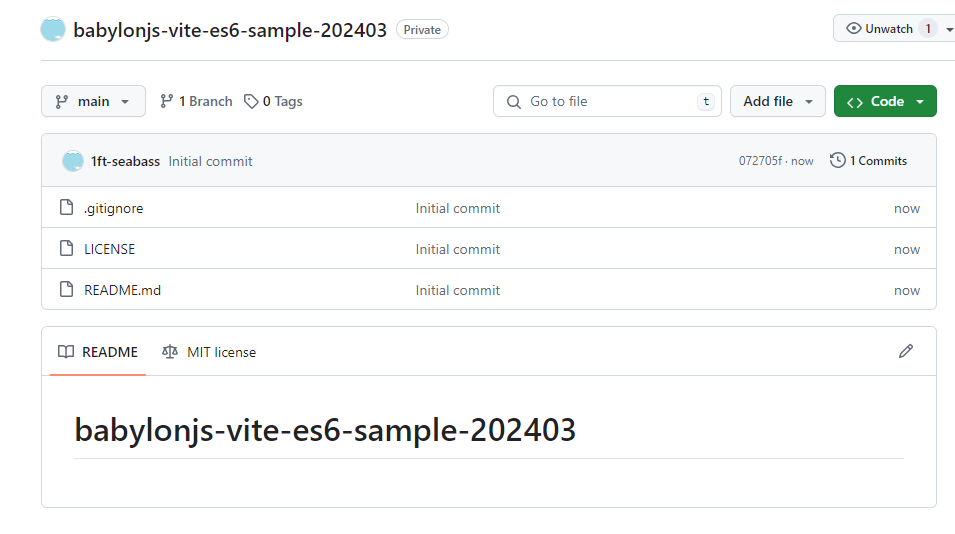
作成できました。
GitHub Codespaces の作成
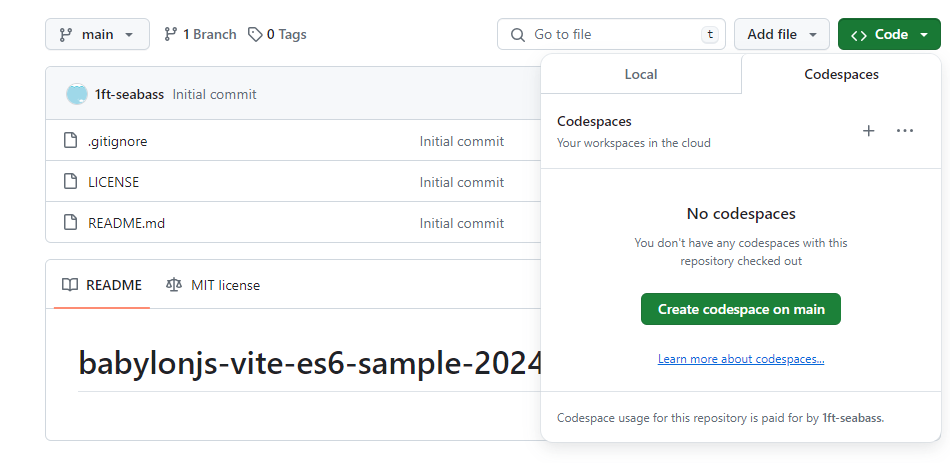
リポジトリができたらリポジトリのページから GitHub Codespaces を起動します。
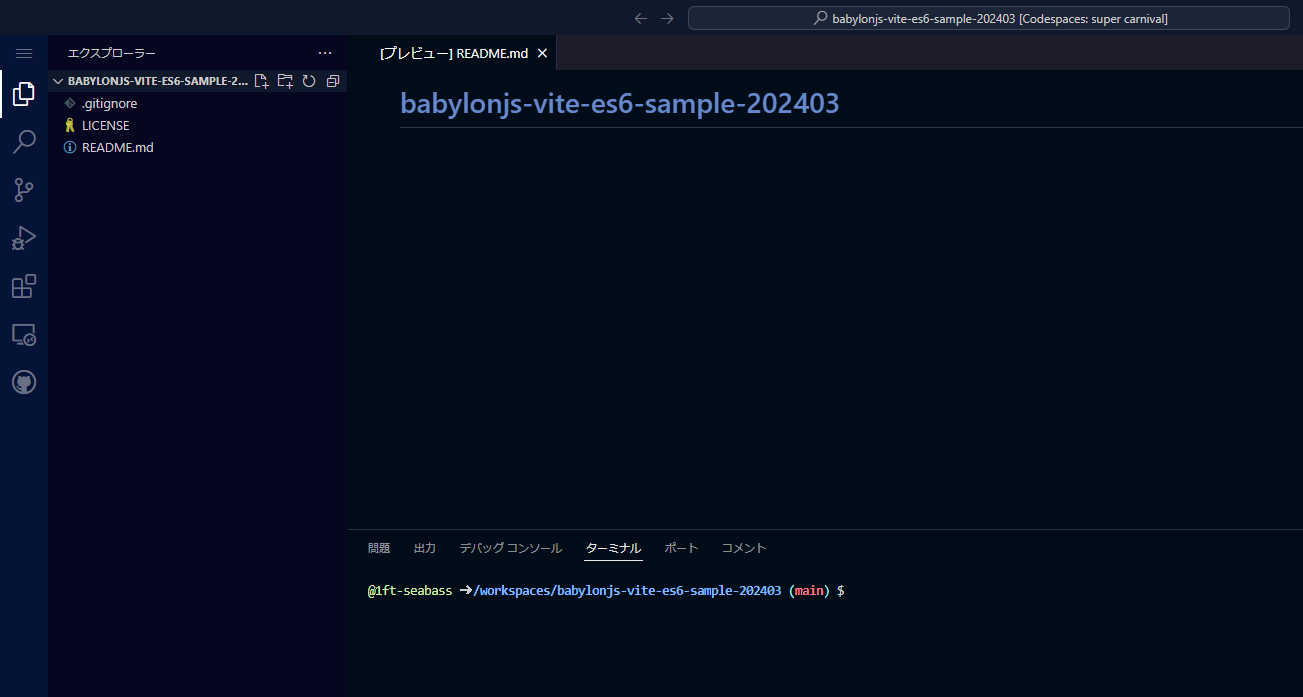
自分の作業しやすいようにテーマをダークにしました。
いろいろインストール
おもに WebXR Demos and Examples | Babylon.js Documentation を参考に進めます。
npm create vite@latestのコマンドをターミナルで入力します。
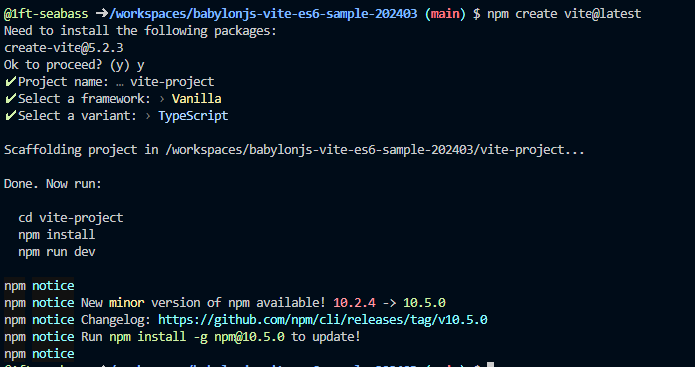
Need to install the following packages:
create-vite@5.2.3
Ok to proceed? (y) y
✔ Project name: … vite-project
✔ Select a framework: › Vanilla
✔ Select a variant: › TypeScript
Vanilla で TypeScript で指定します。プロジェクト名は vite-project です。
cd vite-project
  npm install
指示に従って vite-project フォルダに入って、インストールします。
npm install @babylonjs/core @babylonjs/loadersvite-project 内でインストールします。
index.html の修正
vite-project のルートにある index.html を以下のように修正します。
<!doctype html>
<html lang="en">
  <head>
    <meta charset="UTF-8" />
    <link rel="icon" type="image/svg+xml" href="/vite.svg" />
    <meta name="viewport" content="width=device-width, initial-scale=1.0" />
    <title>Vite + TS</title>
    <style>
      html,
      body {
        overflow: hidden;
        width: 100%;
        height: 100%;
        margin: 0;
        padding: 0;
      }

      canvas {
        width: 100%;
        height: 100%;
        touch-action: none;
      }

    </style>
  </head>
  <body>
    <script type="module" src="/src/main.ts"></script>
  </body>
</html>
追加した仕組みとしては、画面いっぱいに広げる CSS を追加しました。
src/main.ts の修正
WebXR Demos and Examples | Babylon.js Documentation にある main.ts のソースを調整したものを上書きします。
import "./style.css";

import { ArcRotateCamera } from "@babylonjs/core/Cameras/arcRotateCamera.js";
import { Color3 } from "@babylonjs/core/Maths/math.color.js";
import { Engine } from "@babylonjs/core/Engines/engine.js";
import { EnvironmentHelper } from "@babylonjs/core/Helpers/environmentHelper.js";
import { HemisphericLight } from "@babylonjs/core/Lights/hemisphericLight.js";
import { Mesh } from "@babylonjs/core/Meshes/mesh";
import { MeshBuilder } from "@babylonjs/core/Meshes/meshBuilder.js";
import { Scene } from "@babylonjs/core/scene.js";
import { StandardMaterial } from "@babylonjs/core/Materials/standardMaterial.js";
import { Vector3 } from "@babylonjs/core/Maths/math.vector.js";
import { WebXRDefaultExperience } from "@babylonjs/core/XR/webXRDefaultExperience.js";

// Required for EnvironmentHelper
import "@babylonjs/core/Materials/Textures/Loaders";

// Enable GLTF/GLB loader for loading controller models from WebXR Input registry
import "@babylonjs/loaders/glTF";

// Without this next import, an error message like this occurs loading controller models:
//  Build of NodeMaterial failed" error when loading controller model
//  Uncaught (in promise) Build of NodeMaterial failed: input rgba from block
//  FragmentOutput[FragmentOutputBlock] is not connected and is not optional.
import "@babylonjs/core/Materials/Node/Blocks";

// XR ボタンを右下に表示させるために必須
import "@babylonjs/core/Helpers/sceneHelpers";
import { mainUVVaryingDeclaration } from "@babylonjs/core/Shaders/ShadersInclude/mainUVVaryingDeclaration";

const main = async () => {
  // Create a canvas element for rendering
  const app = document.querySelector("body");
  const canvas = document.createElement("canvas");
  app?.appendChild(canvas);

  // Create engine and a scene
  const babylonEngine = new Engine(canvas, true);
  const scene = new Scene(babylonEngine);

  // Add a basic light
  new HemisphericLight("light1", new Vector3(0, 2, 0), scene);

  // Create a default environment (skybox, ground mesh, etc)
  /*
  const envHelper = new EnvironmentHelper(
    {
      skyboxSize: 30,
      groundColor: new Color3(0.5, 0.5, 0.5),
    },
    scene,
  );
  */

  // Add a camera for the non-VR view in browser
  const camera = new ArcRotateCamera("Camera", -(Math.PI / 4) * 3, Math.PI / 4, 10, new Vector3(0, 0, 0), scene);
  camera.attachControl(true);

  // Add a sphere to have something to look at
  const sphereD = 1.0;
  const sphere = MeshBuilder.CreateSphere("xSphere", { segments: 16, diameter: sphereD }, scene);
  sphere.position.x = 0;
  sphere.position.y = sphereD * 2;
  sphere.position.z = 0;
  const rMat = new StandardMaterial("matR", scene);
  rMat.diffuseColor = new Color3(1.0, 0, 0);
  sphere.material = rMat;

  // Setup default WebXR experience
  // Use the enviroment floor to enable teleportation
  /*
  WebXRDefaultExperience.CreateAsync(scene, {
    floorMeshes: [envHelper?.ground as Mesh],
    optionalFeatures: true,
  });
  */

  const xr = await scene.createDefaultXRExperienceAsync({
    uiOptions: {
      sessionMode: "immersive-ar",
    },
    optionalFeatures: true,
  });


  // Run render loop
  babylonEngine.runRenderLoop(() => {
    scene.render();
  });
}

main(); - EnvironmentHelper の部分は Meta Quest のパススルーになっていてもフロアメッシュで全体を覆ってしまうので消しています。
- sceneHelpers を導入して scene クラスで createDefaultXRExperienceAsync を使えるようにしています
- 参考コードにある WebXRDefaultExperience.CreateAsync は一旦コメントアウトしています
- npm run build 時にトップレベルの await/async をしていると警告が出るので main 関数で処理を囲っています
Vite でテストサーバー起動
npm run devターミナルで上記のコマンドを実行してVite でテストサーバー起動します。

ポートタブで今回のサーバ起動されていることを確認します。
ブラウザで表示してみる
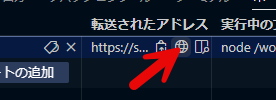
こちらの今回のサーバをこちらのボタンをクリックしてブラウザで開きます。

ブラウザでうまく動作していることが確認できました!
Meta Quest 3 で表示してみる
ポートタブで Meta Quest 3 でも表示できるように公開します。
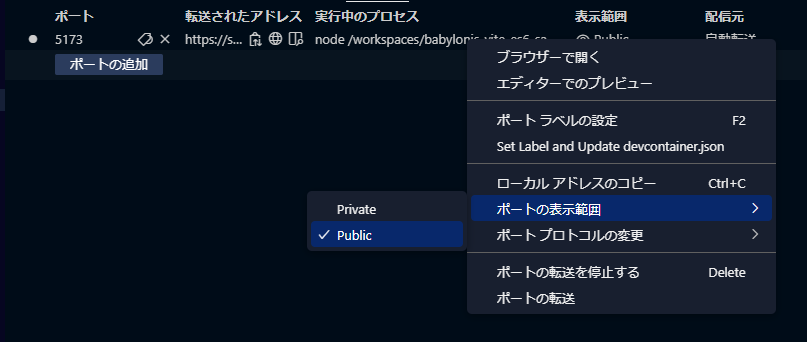
右クリックでメニューを出して ポートの表示範囲 > Public をクリックします。
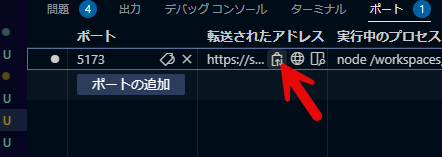
こちらのボタンで URL をコピーします。
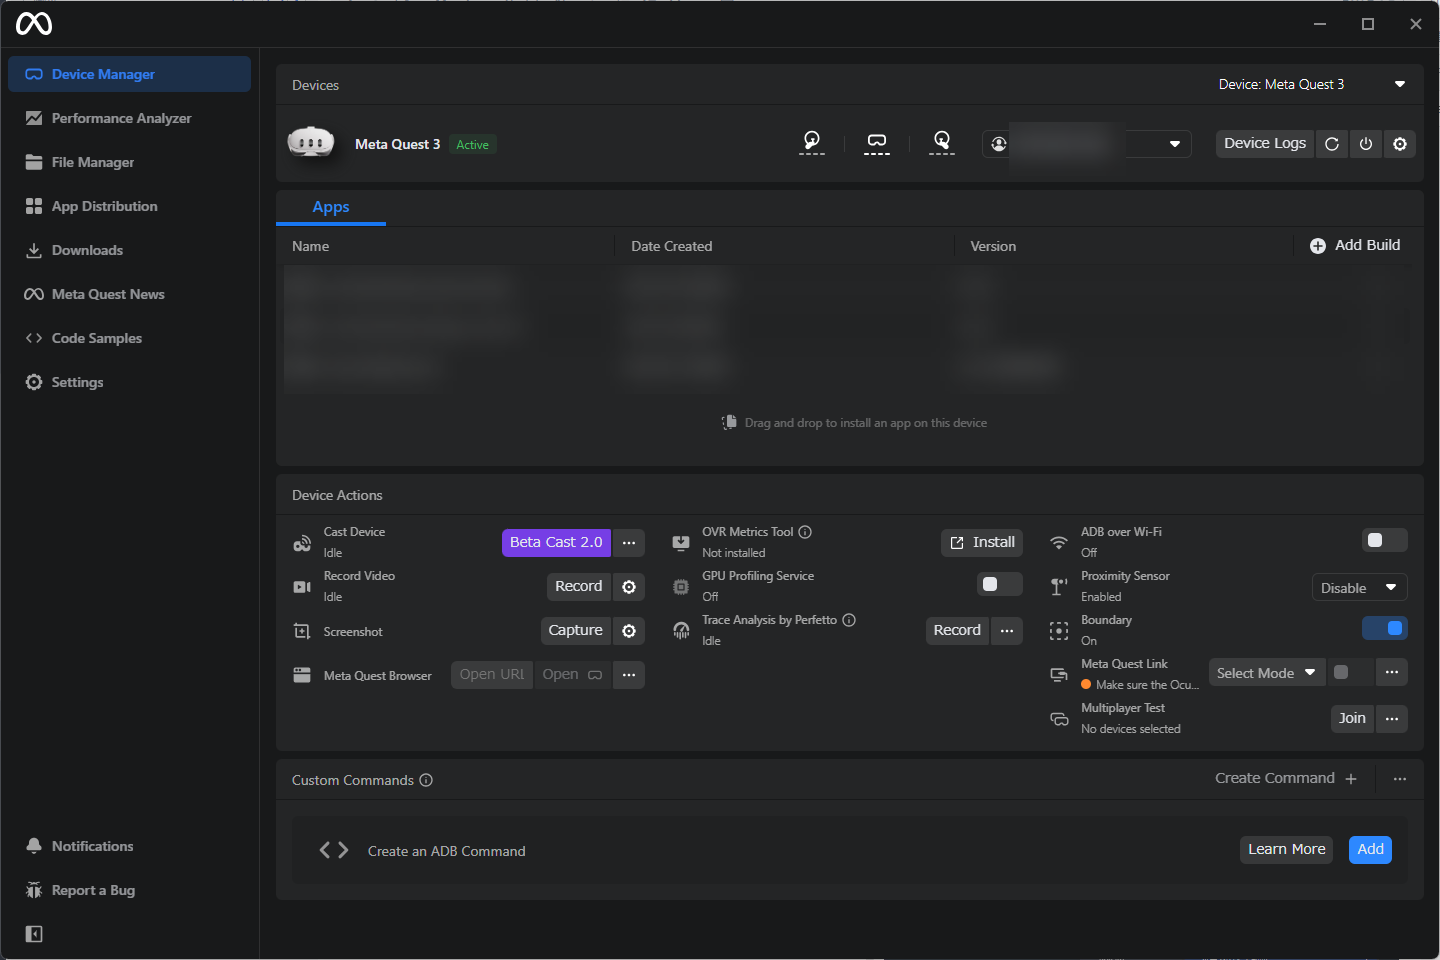
Meta Quest Developer Hub で Meta Quest 3 をつなぎます。(この手順の前に Meta Quest Developer Hub で Meta Quest 3 が動作するようにしておきましょう。)

Meta Quest Browser 項目に URL を入力して Open をクリックします。
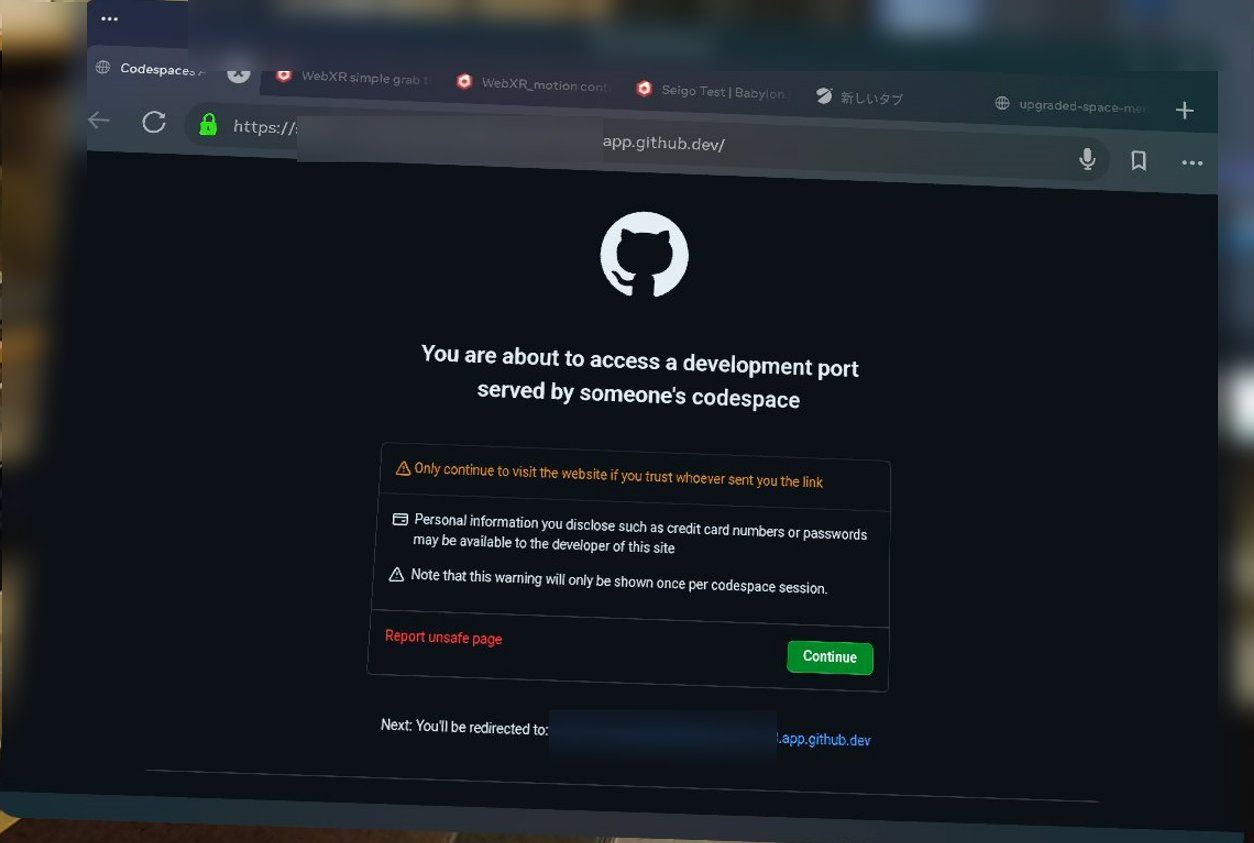
Meta Quest 3 をかぶるとこのような画面で URL が開いていて Continue をクリックします。
うまく表示されたので右下の眼鏡ボタンをクリックして XR として起動します。

下部にダイアログが出るので許可します。
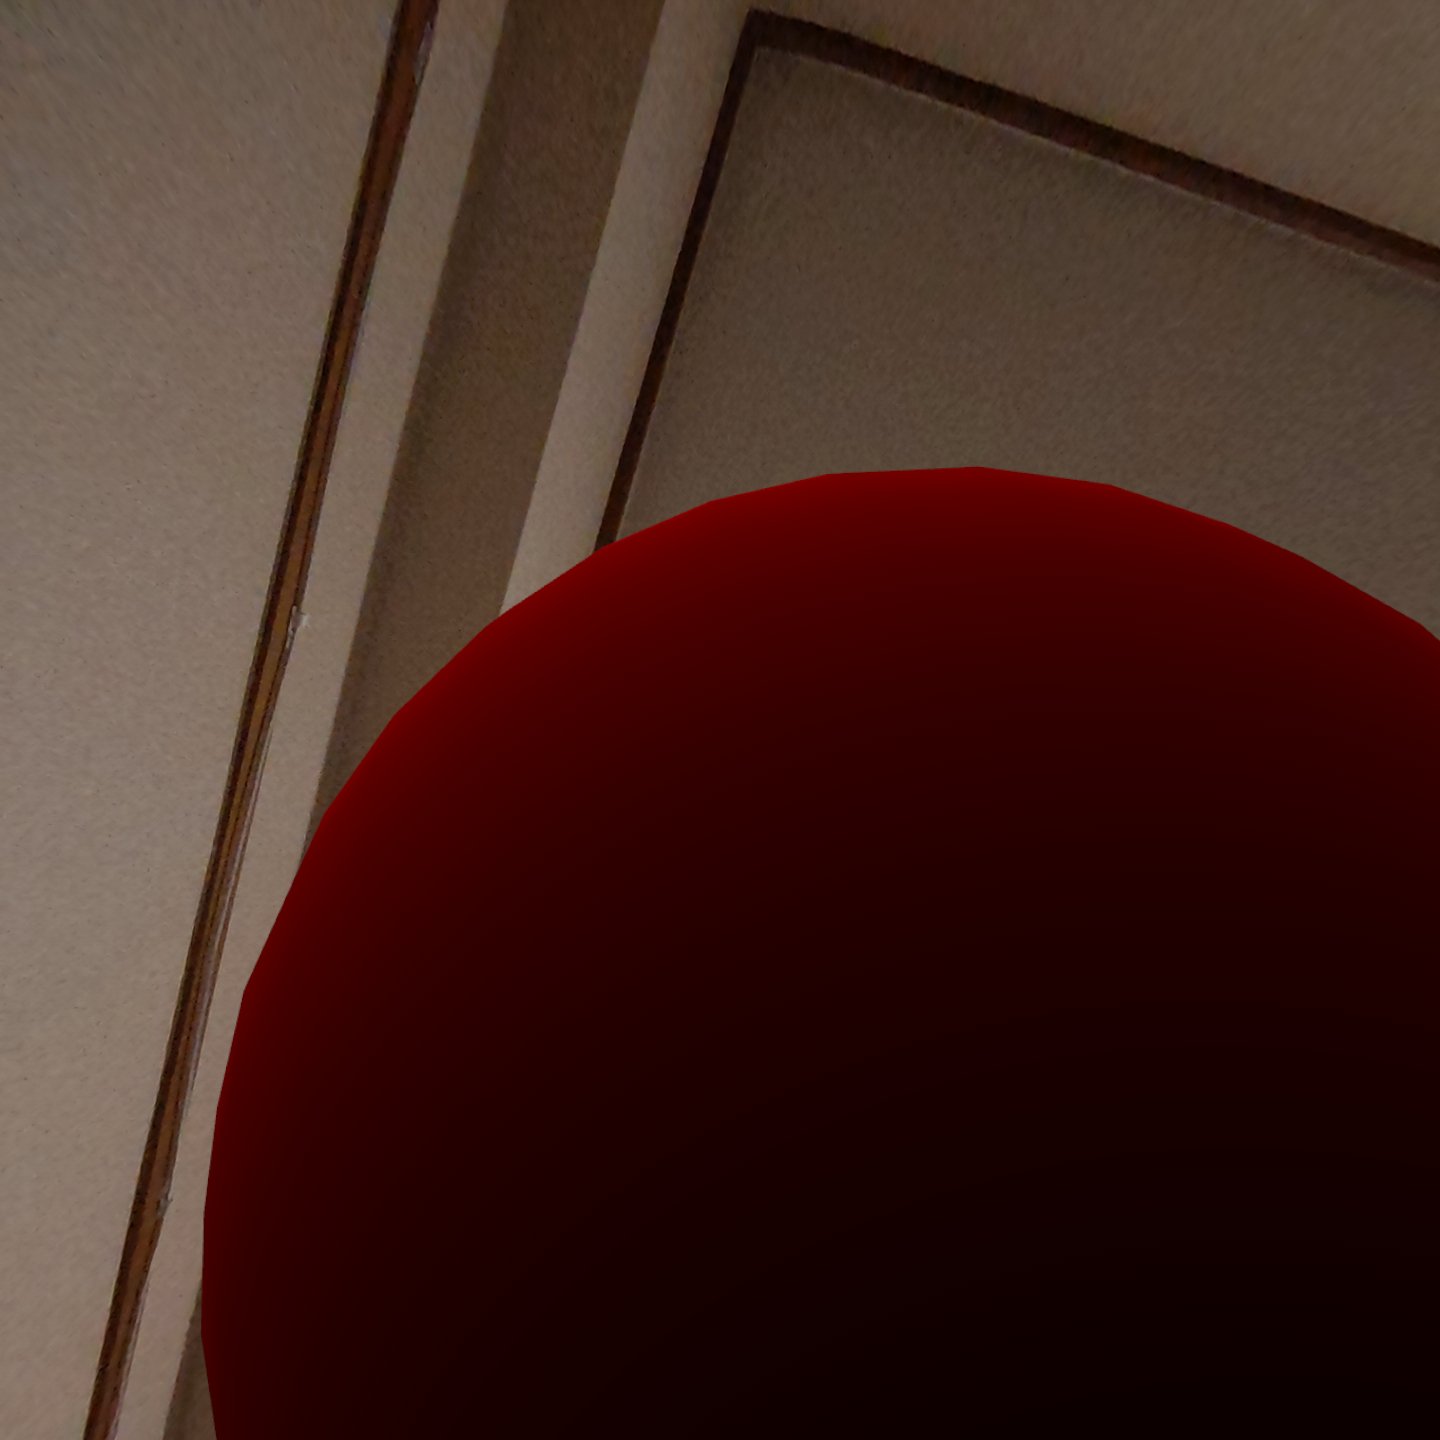
パススルーが効いた景色になるので、ちょうど頭上あたりを除くと、さきほどブラウザで表示されている赤いボールが出てきます。ブラウザで表示するときと XR で表示するときでカメラ位置が移動しているような挙動ですね。
ビルドするときは tsconfig.json を修正
このまま npm run build してしまうと、未使用のクラス参照がチェックされて警告が出てビルドできないので tsconfig.json を修正します。
{
  "compilerOptions": {
    "target": "ES2020",
    "useDefineForClassFields": true,
    "module": "ESNext",
    "lib": ["ES2020", "DOM", "DOM.Iterable"],
    "skipLibCheck": true,

    /* Bundler mode */
    "moduleResolution": "bundler",
    "allowImportingTsExtensions": true,
    "resolveJsonModule": true,
    "isolatedModules": true,
    "noEmit": true,

    /* Linting */
    "strict": true,
    "noUnusedLocals": true,
    "noUnusedParameters": true,
    "noFallthroughCasesInSwitch": true
  },
  "include": ["src"]
}
こちらを、
{
  "compilerOptions": {
    "target": "ES2020",
    "useDefineForClassFields": true,
    "module": "ESNext",
    "lib": ["ES2020", "DOM", "DOM.Iterable"],
    "skipLibCheck": true,

    /* Bundler mode */
    "moduleResolution": "bundler",
    "allowImportingTsExtensions": true,
    "resolveJsonModule": true,
    "isolatedModules": true,
    "noEmit": true,

    /* Linting */
    "strict": true,
    "noUnusedLocals": false,
    "noUnusedParameters": true,
    "noFallthroughCasesInSwitch": true
  },
  "include": ["src"]
}
noUnusedLocals を false にして保存します。これでビルドの準備も完了です。
npm run buildターミナルで上記のコマンドを実行してビルドを実行すると成功するはずです。
とにもかくにも、このようにBabylon.js で Meta Quest 3 で動く ES6 + Vite + TypeScript 開発構成を GitHub Codespaces で作ることができました~!