Oculus GoとFirebaseをつなげるメモ
Oculus GoとFirebaseをつなげるメモです。
UnityプロジェクトにAssetインストール
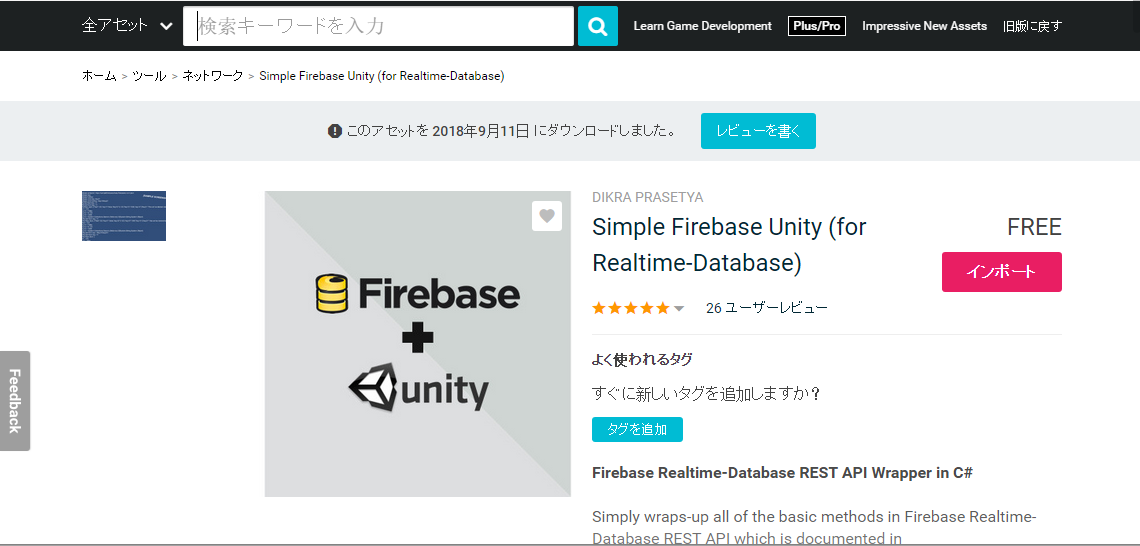
アセットストアからSimple Firebase Unityをインストールします。
Simple Firebase Unity (for Realtime-Database) - Asset Store
インポートすると、
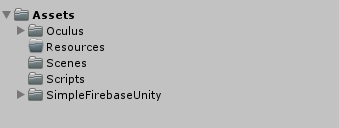
SimpleFirebaseUnityというフォルダでインストールされます。
プロジェクト設定
プロジェクトは、Oculus Go SDKからの基本的なものを揃えています。
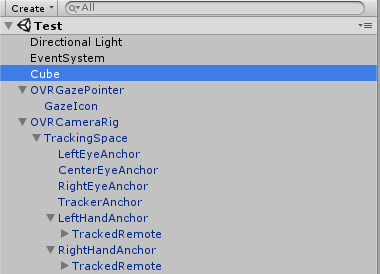
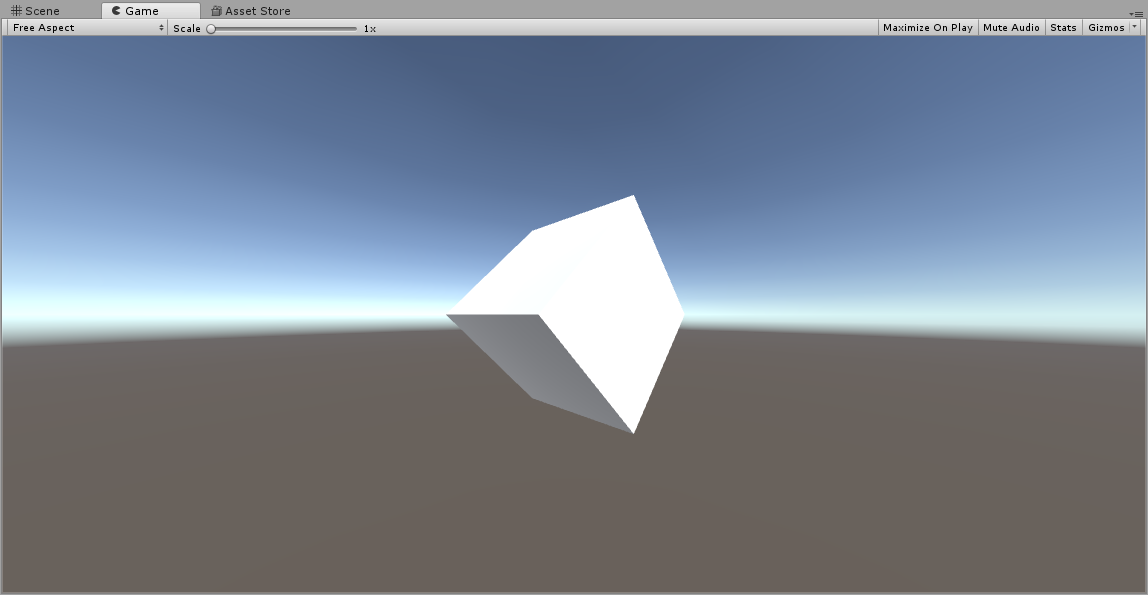
Cubeだけ加えておきます。
ソースコード
Simple Firebase Unityをインストールしたら、Cubeに以下のスクリプトを適用します。ごくごくシンプルなものです。
using UnityEngine;
using UnityEngine.EventSystems;
using SimpleFirebaseUnity;

public class CubeScript : MonoBehaviour, IPointerExitHandler, IPointerEnterHandler, IPointerClickHandler
{
    Firebase firebase;

    void Start()
    {
        firebase = Firebase.CreateNew("https://                   .firebaseio.com");  // 自分のFirebaseのアドレスを入れる

        firebase.Child("Oculus/Sample/Launch").Push("{ \"message\": \"launch!\"}", true);  // 起動時
    }

    public void OnPointerClick(PointerEventData pointerEventData)
    {
        firebase.Child("Oculus/Sample/Click").Push("{ \"message\": \"click!\"}", true);  // クリック時

        GetComponent<Renderer>().material.color = Color.blue;
    }

    public void OnPointerEnter(PointerEventData pointerEventData)
    {
        GetComponent<Renderer>().material.color = Color.gray;
    }
    public void OnPointerExit(PointerEventData pointerEventData)
    {
        GetComponent<Renderer>().material.color = Color.white;
    }
}
Firebaseライブラリは
using SimpleFirebaseUnity;
``` で使うことができます。
各設定は自分のFirebaseを確認して対応しましょう。今回はリアルタイムデータベースをテストモード(すべて開放するモード)で行っているので、認証は追加で使いません。
もちろん、Simple Firebase Unityは、Firebaseの持つ認証も対応しているので、気になる方はドキュメントを確認しましょう。
## 動かしてみる
ということで動かしてみます。
https://www.youtube.com/watch?v=2e4ugqveUo8
起動して、何度かクリックします。
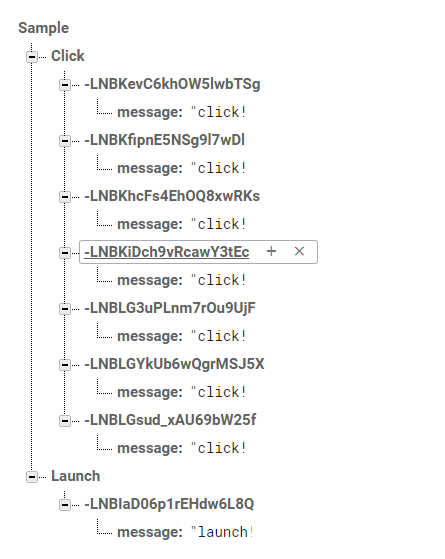
Firebaseを見てみるとちゃんとデータが登録されています!
それでは、よき Oculus Go & Firebase Life を!