IBM Cloudant に Node.js で @ibm-cloud/cloudant で外部からアクセスして await / async で非同期処理を書くメモ

この記事は IBM Cloud Advent Calendar 2021 の 10 日目の記事です。
IBM Cloudant に Node.js で @ibm-cloud/cloudant で外部からアクセスして await / async で非同期処理を書くメモです。
@cloudant/cloudant の非同期処理を書く記事のはずだった
もともとは @cloudant/cloudant で await async を使ったコードを見かけることが少なく、そりゃもちろん Promise と then のメソッドチェーンな形式で書けなくはないけども、ガッツリ書くときにはツラいなーという思いがあって、こちらの await / async で非同期処理をやってみる記事を書いていました。
そうしましたら、
@cloudant/cloudant の後継ライブラリ @ibm-cloud/cloudant を使ってみた : まだプログラマーですが何か?
こちらにもあるように @cloudant/cloudant が非推奨になっていく流れがあって、うわー、せっかく事前に記事書いたのに困った!となっていました。
よし @ibm-cloud/cloudant でやってみよう
幸い、@dotnsf さんが追いかけられているのもあって、追いやすそうです。
@cloudant/cloudant の後継ライブラリ @ibm-cloud/cloudant を使ってみた : まだプログラマーですが何か?
先ほど挙げたこちらの記事を参考に、やってみます。
サービス資格情報画面から apikey 設定を取ってくる
IBM Cloud 側で、自分の IBM Cloudant は作ってあります。Node-RED をつくるときに作ったものです。
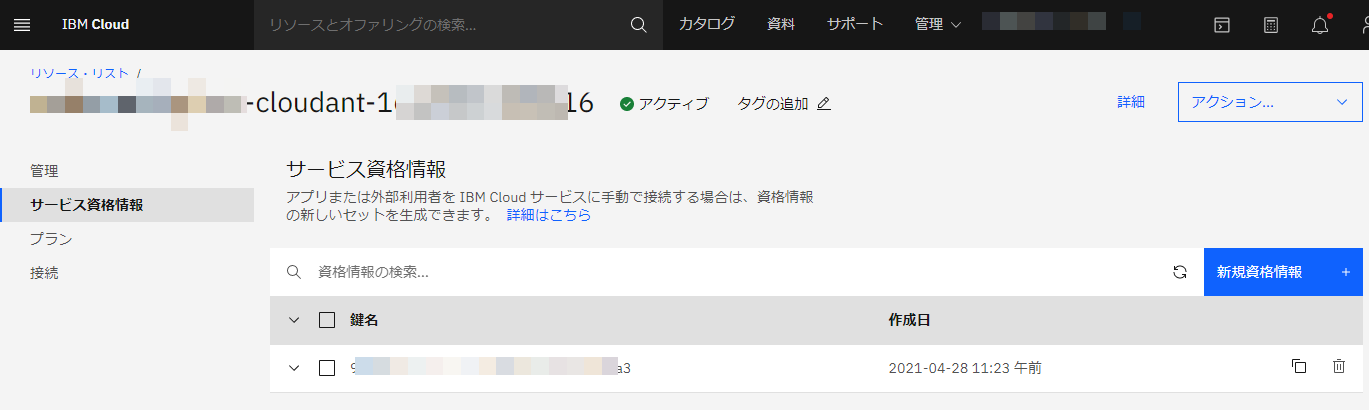
IBM Cloudant のサービス資格情報の資格情報が並んでいるところをみてみます。
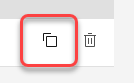
コピーボタンがあるのでクリップボードにコピーします。
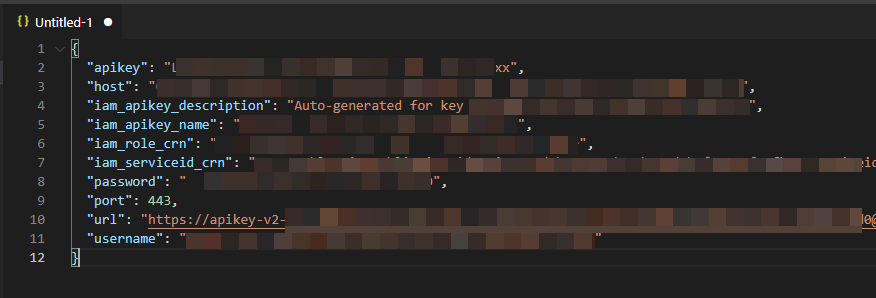
このような内容になっています。IAM サービス情報の apikey にあたる部分は、こちらの apikey を使います。
管理画面から url 設定を取ってくる
サービス資格情報と同じメニューにある 管理 のところを見てみます。
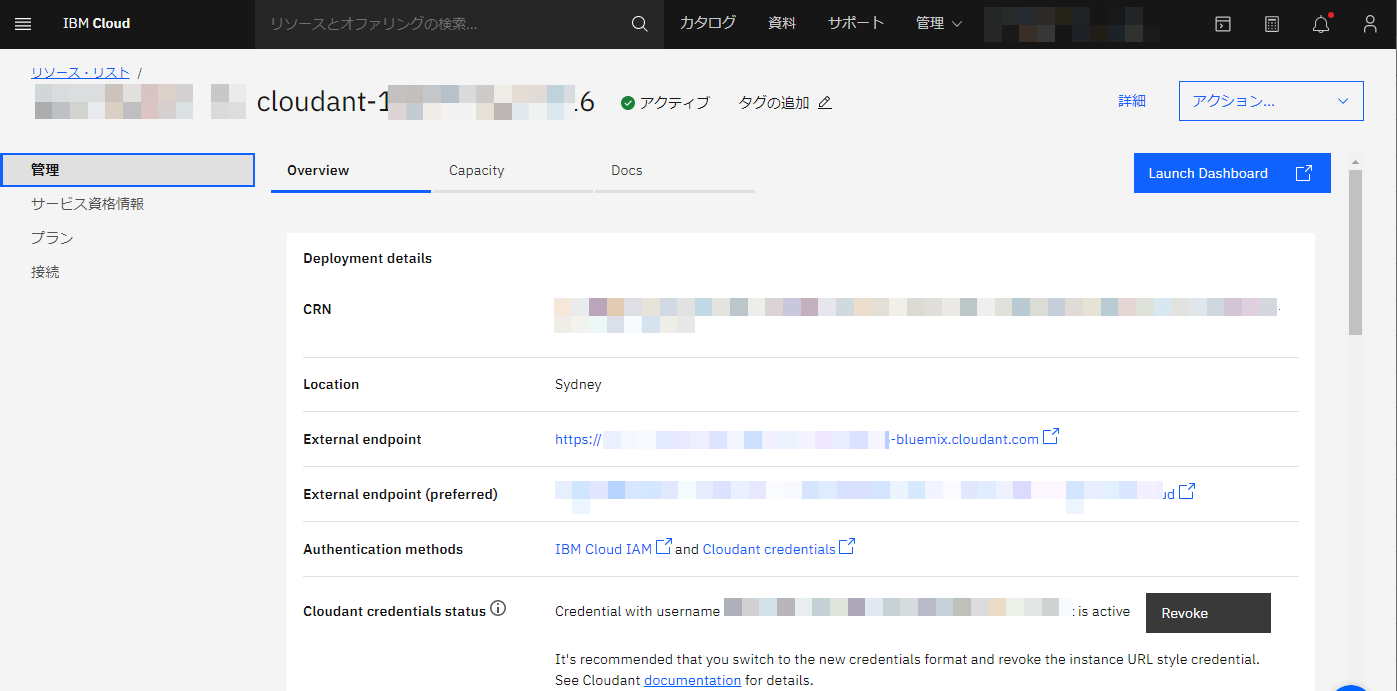
こちらの
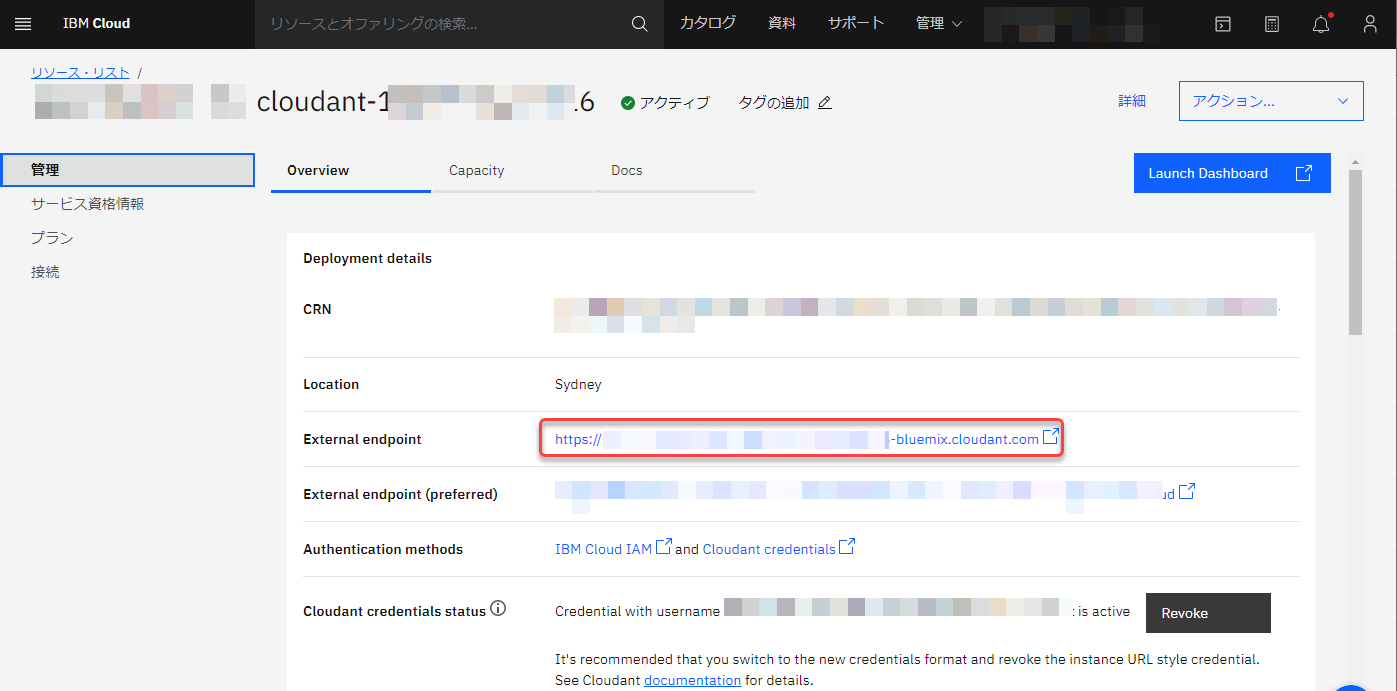
IAM サービス情報の url にあたる部分は、こちらのExternal endpoint にある URL を使います。
適当なフォルダでプロジェクトを作る
npm init -y適当なフォルダを決めて npm の初期化をします。
npm i @ibm-cloud/cloudantで @ibm-cloud/cloudant をインストール。
Cloudant にデータを準備
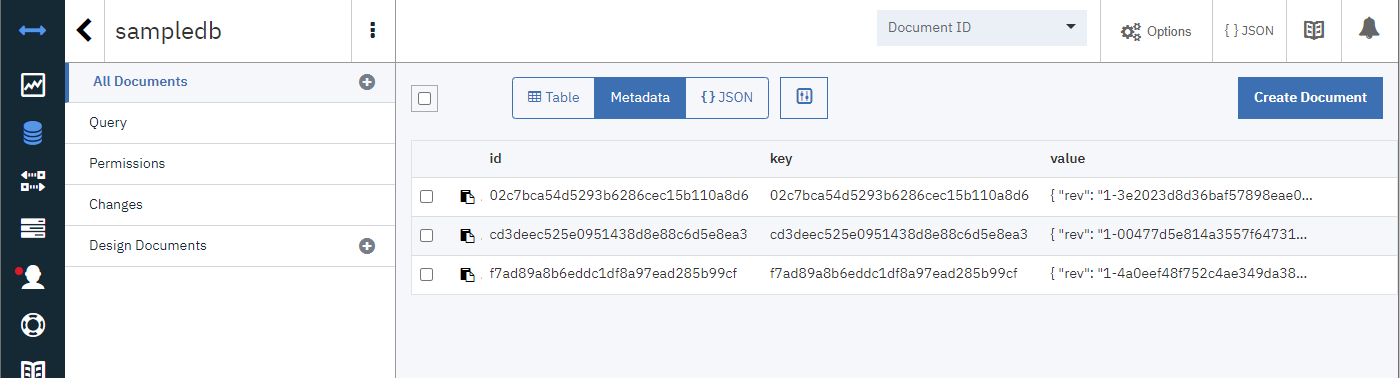
Cloudant のダッシュボードから、 sampledb というデータベースに 3 つのドキュメントを用意しました。
動かしてみる(await async なし)
@ibm-cloud/cloudant - npm にあるソースコードも参考にして素直に接続してみました。
process.env['CLOUDANT_AUTH_TYPE'] = 'IAM';
process.env['CLOUDANT_APIKEY'] = '<CLOUDANT_APIKEY>'; // サービス資格情報 JSON の apikey の値
process.env['CLOUDANT_URL'] = '<CLOUDANT_URL>';  // 管理画面にある External endpoint の値

const { CloudantV1 } = require( '@ibm-cloud/cloudant' );

const client = CloudantV1.newInstance( { serviceName: 'CLOUDANT', disableSslVerification: true } );

// 2. Get server information ==================================================
// call service without parameters:
client.getServerInformation().then((serverInformation) => {
  const { version } = serverInformation.result;
  console.log(`Server version ${version}`);
});

// 3. Get database information for "animaldb" =================================
const dbName = 'sampledb';

// call service with embedded parameters:
client.getDatabaseInformation({ db: dbName }).then((dbInfo) => {
  const documentCount = dbInfo.result.doc_count;
  const dbNameResult = dbInfo.result.db_name;

  // 4. Show document count in database =================================
  console.log(
    `Document count in "${dbNameResult}" database is ${documentCount}.`
  );
});

// 5. Get zebra document out of the database by document id ===================
const getDocParams = {
  db: dbName,
  docId: '02c7bca54d5293b6286cec15b110a8d6',
};

// call service with predefined parameters:
client.getDocument(getDocParams).then((documentAboutZebra) => {
  // result object is defined as a Document here:
  const { result } = documentAboutZebra;
  console.log(
    `Document retrieved from database:\n${JSON.stringify(result, null, 2)}`
  );
});
設定情報は
process.env['CLOUDANT_AUTH_TYPE'] = 'IAM';
process.env['CLOUDANT_APIKEY'] = '<CLOUDANT_APIKEY>'; // サービス資格情報 JSON の apikey の値
process.env['CLOUDANT_URL'] = '<CLOUDANT_URL>';  // 管理画面にある External endpoint の値
の <CLOUDANT_APIKEY> は、先ほど取ってきたサービス資格情報 JSON の apikey の値を入れて、 <CLOUDANT_URL> も先ほど取ってきた管理画面にある External endpoint の値を使います。
実行してみると、無事に値が取れました!
Server version 3.2.1
Document count in "sampledb" database is 3.
Document retrieved from database:
{
  "_id": "02c7bca54d5293b6286cec15b110a8d6",
  "_rev": "1-3e2023d8d36baf57898eae080f78f70c",
  "data": "sample03"
}
await async で書き換えてみる
いよいよ、await async で書き換えてみます。
サンプルコードの時点で、then で動いていて Promise を返り値で出してくれているので移植は楽でした。
process.env['CLOUDANT_AUTH_TYPE'] = 'IAM';
process.env['CLOUDANT_APIKEY'] = '<CLOUDANT_APIKEY>'; // サービス資格情報 JSON の apikey の値
process.env['CLOUDANT_URL'] = '<CLOUDANT_URL>';  // 管理画面にある External endpoint の値

const { CloudantV1 } = require( '@ibm-cloud/cloudant' );

const client = CloudantV1.newInstance( { serviceName: 'CLOUDANT', disableSslVerification: true } );

async function main(){

  // 2. Get server information ==================================================
  // call service without parameters:
  const responseServerInformation = await client.getServerInformation();

  const { version } = responseServerInformation.result;
  console.log(`Server version ${version}`);

  // 3. Get database information for "animaldb" =================================
  const dbName = 'sampledb';

  // call service with embedded parameters:
  const responseDatabaseInformation = await client.getDatabaseInformation({ db: dbName });

  const documentCount = responseDatabaseInformation.result.doc_count;
  const dbNameResult = responseDatabaseInformation.result.db_name;

  // 4. Show document count in database =================================
  console.log(
    `Document count in "${dbNameResult}" database is ${documentCount}.`
  );
  // 5. Get zebra document out of the database by document id ===================
  const getDocParams = {
    db: dbName,
    docId: '02c7bca54d5293b6286cec15b110a8d6',
  };

  // call service with predefined parameters:
  const responseThisDocument = await client.getDocument(getDocParams);

  // result object is defined as a Document here:
  const { result } = responseThisDocument;
  console.log(
    `Document retrieved from database:\n${JSON.stringify(result, null, 2)}`
  );

}

main();
うん、やはり、処理の流れが見やすいですね。
今回は main 関数をあえて作って async つけて、await async をサポートしている Node.js であれば実行できるようにしていますが、
Node.jsでTop-Level Awaitを試す - Qiita
のとおり v14.8.0 以降は、いきなりトップレベルから async / await で書きけます。
ということで、こちらを実行してみると、同じ値が取得できました。やった。
Server version 3.2.1
Document count in "sampledb" database is 3.
Document retrieved from database:
{
  "_id": "02c7bca54d5293b6286cec15b110a8d6",
  "_rev": "1-3e2023d8d36baf57898eae080f78f70c",
  "data": "sample03"
}
ということで、IBM Cloudant に Node.js で @ibm-cloud/cloudant で外部からアクセスして await / async で非同期処理を書くことができました。
これで、いざ使うときに、いろんなサービスと連携したり、たくさんの非同期処理が走っても await / async だと可読性を保ちながら組んでいけるので、やりやすくなりそうです!
あと、IBM/cloudant-node-sdk: Cloudant SDK for Node.js あたりに、以前の cloudant/nodejs-cloudant: Cloudant Node.js client library と同じように、ちょっとでも await / async 処理できるよって触れていれば、もう少し取っつきやすくなって、 await / async の書き方を試してみる人が増えるんじゃないかなあと思いました。