Raspberry PiのNode-REDで撮影したWebカメラ画像をMicrosoft Custom Vision Serviceで判定させるメモ
Raspberry PiのNode-REDでで撮影したWebカメラ画像をMicrosoft Custom Vision Serviceで判定させるメモです。
まずMicrosoft Custom Vision Serviceの仕組みを作る
Microsoft Custom Vision Service を使用して画像を分類する - Learn | Microsoft Docs
この Microsoft Learn 教材を元にスタートします。
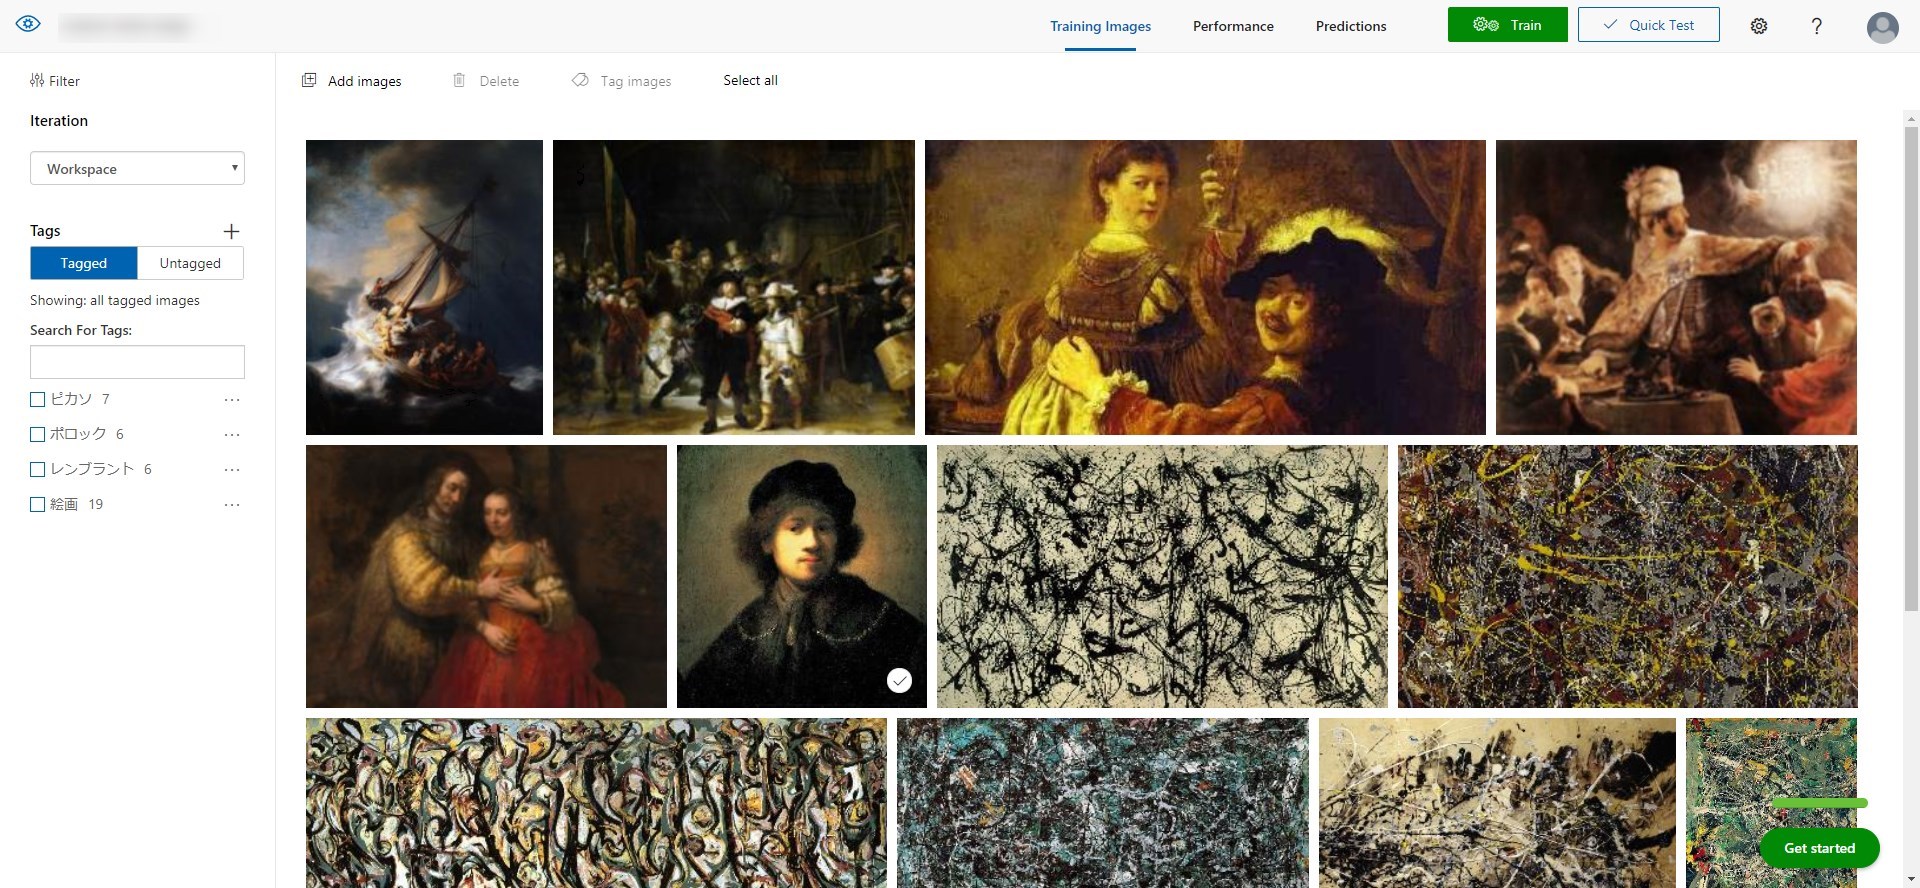
出来上がった状態です。
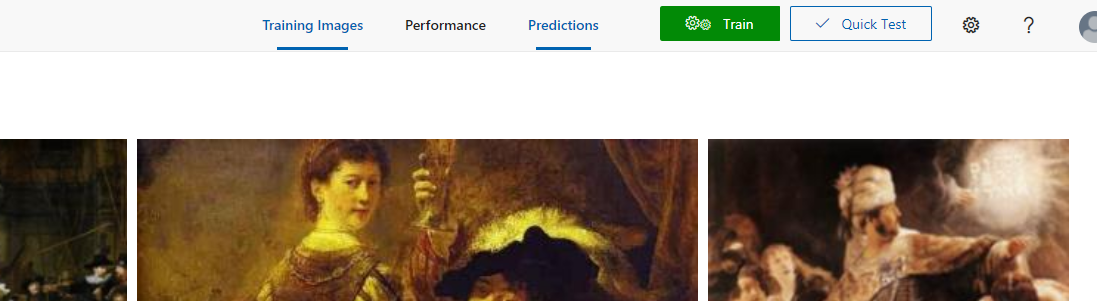
Trainを済ませて、Perfomance をクリック。

Prediction URLをクリックし設定を確認します。
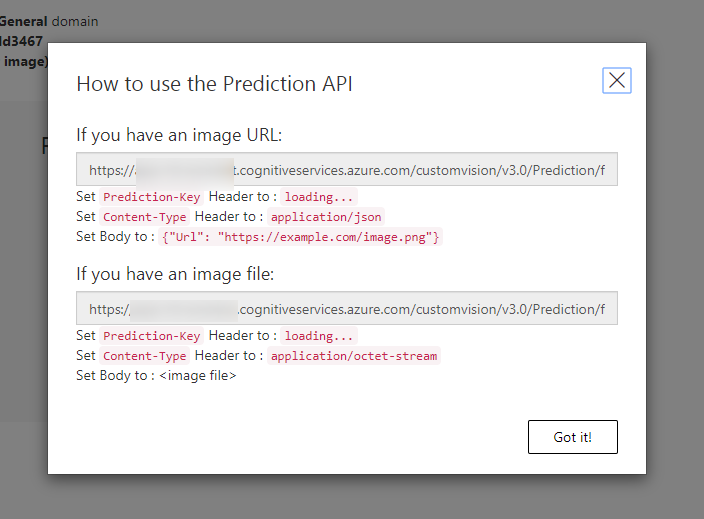
画像ファイルを使うので「If you have an image file:」の設定の部分を使います。
Node-REDの設定
まず node-red-contrib-usbcamera ノードを使ってカメラ撮影ができるようにしています。
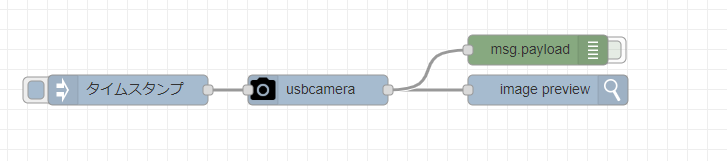
こちらでカメラ撮影ができる状況です。カメラは ヨドバシ.com - ロジクール Logicool C920s [ロジクール HD プロ ウェブカム] を使っています。
[{"id":"3669322e.a3ca8e","type":"inject","z":"3b896eea.27cd82","name":"","topic":"","payload":"","payloadType":"date","repeat":"","crontab":"","once":false,"onceDelay":0.1,"x":140,"y":220,"wires":[["7deaf659.7eb808"]]},{"id":"f8ccf3f4.55d7b","type":"image","z":"3b896eea.27cd82","name":"","width":"640","x":560,"y":220,"wires":[]},{"id":"a9587cca.839f2","type":"debug","z":"3b896eea.27cd82","name":"","active":false,"tosidebar":true,"console":false,"tostatus":false,"complete":"false","x":550,"y":180,"wires":[]},{"id":"7deaf659.7eb808","type":"usbcamera","z":"3b896eea.27cd82","filemode":"0","filename":"image01.jpg","filedefpath":"1","filepath":"","fileformat":"jpeg","resolution":"5","name":"","x":330,"y":220,"wires":[["f8ccf3f4.55d7b","a9587cca.839f2","7766dd77.ce36c4"]]},{"id":"fbbbd8f8.631618","type":"http request","z":"3b896eea.27cd82","name":"","method":"POST","ret":"txt","paytoqs":false,"url":"","tls":"","persist":false,"proxy":"","authType":"","x":750,"y":280,"wires":[["5cbc2d9b.6b2b44"]]},{"id":"c068f104.acdfa","type":"debug","z":"3b896eea.27cd82","name":"","active":true,"tosidebar":true,"console":false,"tostatus":false,"complete":"false","x":1070,"y":280,"wires":[]},{"id":"7766dd77.ce36c4","type":"change","z":"3b896eea.27cd82","name":"","rules":[{"t":"set","p":"headers.Prediction-Key","pt":"msg","to":"Prediction-Key","tot":"str"},{"t":"set","p":"url","pt":"msg","to":"https://url.cognitiveservices.azure.com/customvision/v3.0/Prediction/xxxxxxxxxx/classify/iterations/Iteration1/image","tot":"str"},{"t":"set","p":"payload.Content-Type","pt":"msg","to":"application/octet-stream","tot":"str"}],"action":"","property":"","from":"","to":"","reg":false,"x":560,"y":280,"wires":[["fbbbd8f8.631618"]]},{"id":"5cbc2d9b.6b2b44","type":"json","z":"3b896eea.27cd82","name":"","property":"payload","action":"","pretty":false,"x":910,"y":280,"wires":[["c068f104.acdfa"]]}]こちらのソースをインポートします。

こちらの、
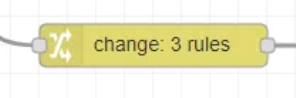
changeノードに必要な設定をします。
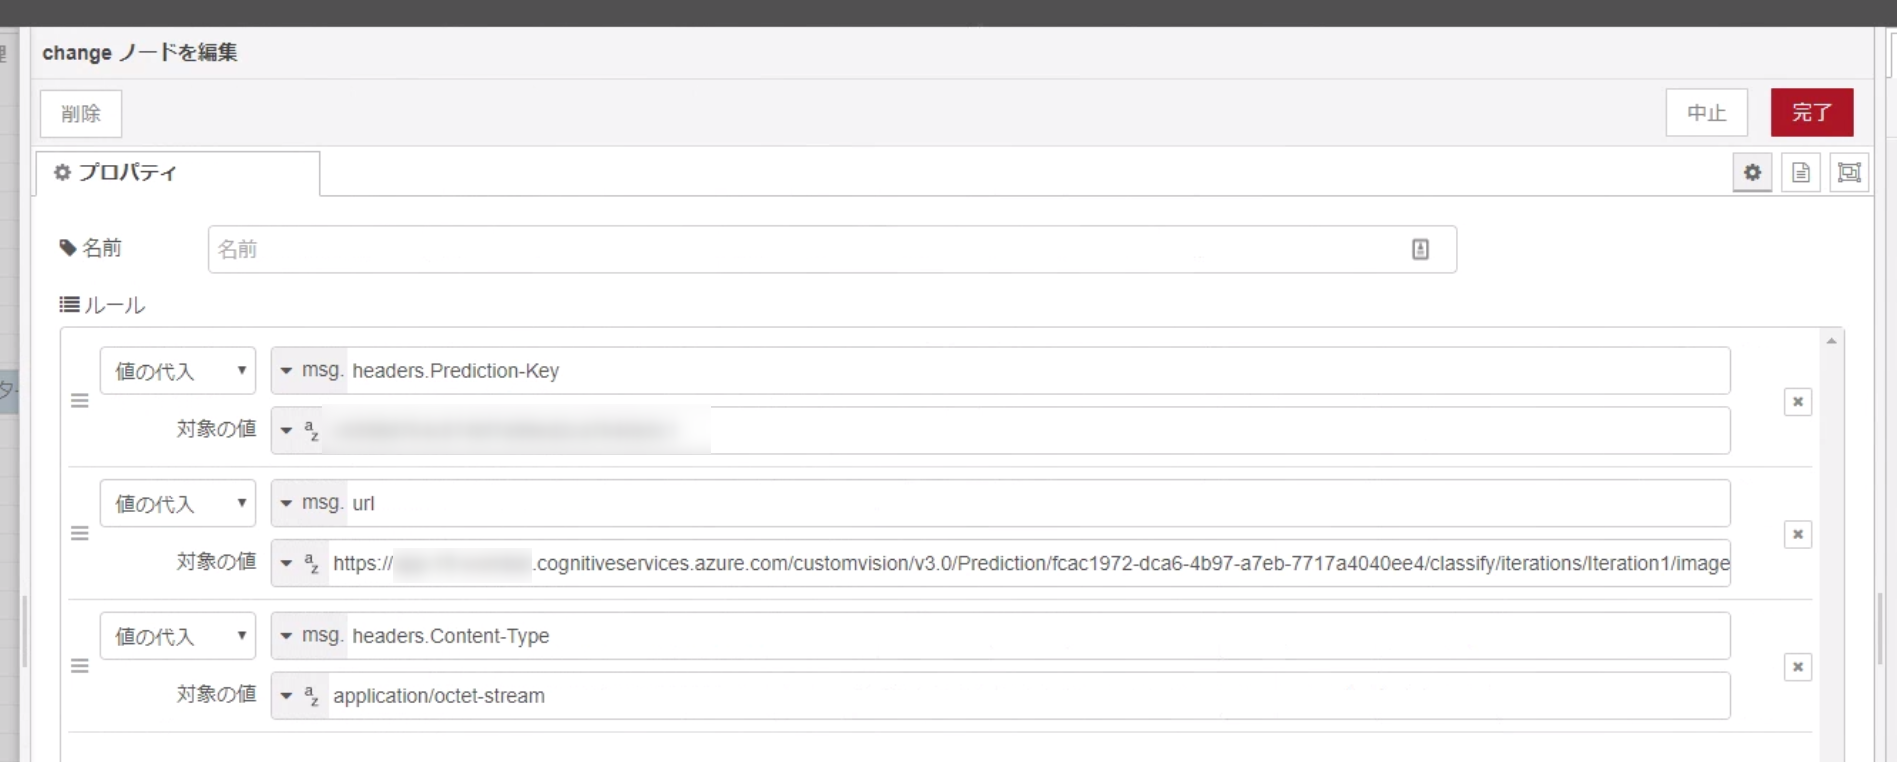
さきほどの「If you have an image file:」の設定の
- msg.headers.Prediction-Key
- 「If you have an image file:」に書かれているPrediction-Key
- msg.url
- 「If you have an image file:」直下に書かれているURL
に置き換えてデプロイを行います。
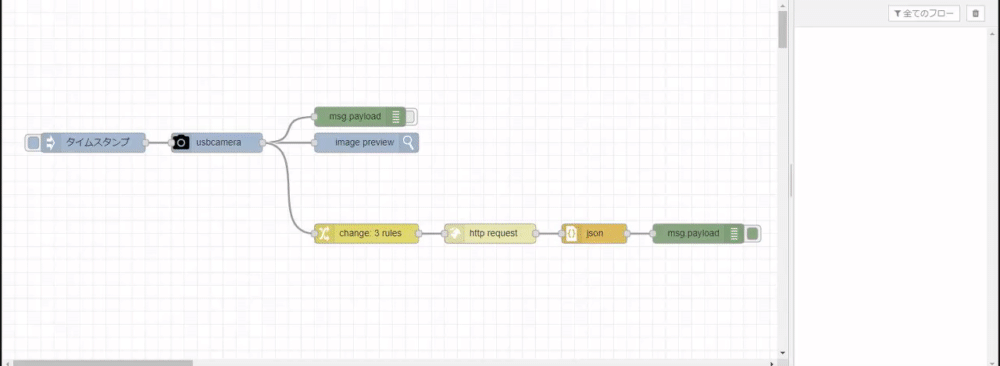
このように、injectノードを押して、USBカメラで撮影されて、Microsoft Custom Vision Serviceへ送られて、結果が返ってきます。