Node-RED のプロジェクト内で Vue CLI 4 で作った Vue 3 を動かすメモ

Node-RED のプロジェクト内で Vue CLI 4 で作った Vue 3 を動かすメモです。
やりたいこと
Node-RED を展開したフォルダで Vue CLI 4 で作った Vue 3 も動くようにして、フロントエンドは Vue 、バックエンドは Node-RED で試行錯誤できる環境を作ります。
Node-RED の環境を作る
こちらの記事を参考に、あるフォルダに Node-RED の環境を作ります。 グローバルに node-red コマンドが実行できる状態です。ホントは、Node-RED の実行環境自体も内包したいんですが、ちょっと説明が多くなるので今回はこれで。
https://www.1ft-seabass.jp/memo/2021/04/19/node-red-per-launch-project-setting-run-command/
vue-node-red フォルダをつくる
今回のプロジェクトフォルダは vue-node-red としてフォルダをつくります。
{
  "name": "vue-node-red",
  "version": "1.0.0",
  "description": "",
  "main": "index.js",
  "scripts": {
    "node-red": "node-red -p 18801 -u ./node-red_dir -s ./node-red_dir/settings.js",
    "init":"npm run init:mkdir && npm run init:get-settings.js",
    "init:mkdir":"node -e \"console.log('[START] mkdir-node-red_dir');const fs = require('fs');const path_nodered_dir = './node-red_dir';if (fs.existsSync(path_nodered_dir)) {console.log( '[ALERT] ' + path_nodered_dir + ' has existed!');} else {console.log('[OK] mkdir -> ' + path_nodered_dir );fs.mkdirSync(path_nodered_dir);}\"",
    "init:get-settings.js": "node -e \"const url = 'https://raw.githubusercontent.com/node-red/node-red/master/packages/node_modules/node-red/settings.js';const stream_output_path = './node-red_dir/settings.js';if (fs.existsSync(stream_output_path)) {console.log( '[ALERT] ' + stream_output_path + ' has existed!');} else {console.log('[START] download settings.js ...');const https = require('https');const fs = require('fs');const stream = fs.createWriteStream(stream_output_path);https.get(url, function(res){res.pipe(stream);res.on('end', function () {stream.close();console.log('[OK] got settings.js! -> ' + stream_output_path);});});}\""
  },
  "keywords": [],
  "author": "",
  "license": "ISC"
}
package.json を作ります。
npm run initで初期設定します。
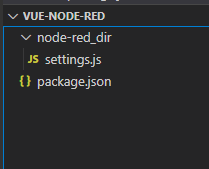
実行時に設定が保存される node-red_dir フォルダと、setting.js が生成されます。
setting.js の修正
setting.js の修正をして Node-RED の準備をします。
httpAdminRoot を設定して Node-RED エディタの URL を /admin に
ルートでエディタが見れるとフロントエンドと絡めるときに何かと扱いにくいので、Node-RED 設定 にあるように、エディタUIのためのルートURLを /admin にズラします。
httpAdminRoot: '/admin',httpStatic を設定して Vue 表示置き場所を設定
Node-RED 設定 にあるように、httpStatic を指定すれば、静的ウェブコンテンツの提供元となるローカルディレクトリのパスを指定できます。
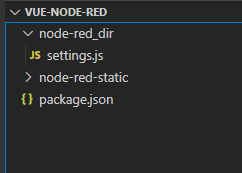
httpStatic: './node-red-static/',node-red-static フォルダも作っておきます。
Vue プロジェクトの作成
https://www.1ft-seabass.jp/memo/2021/08/30/vue-cli-4-and-vue-3-output-dir-tips/
こちらの設定をベースに進めます。
一番上の階層で、
vue create vue-node-red-viewを実行して、
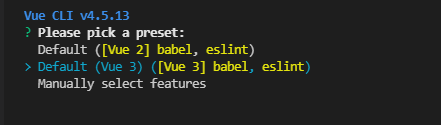
Vue 3 を選択してプロジェクト作成します。
vue.config.js の設定
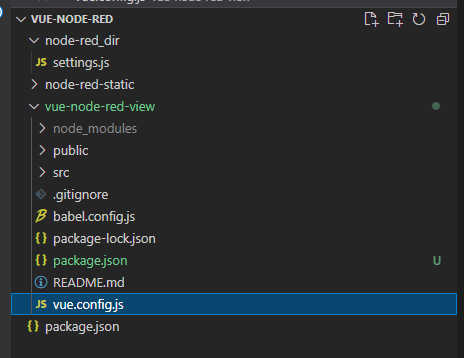
vue-node-red-view の Vue プロジェクト内で vue.config.js の設定ファイルを設定していきます。
module.exports = {
  publicPath: './',
  outputDir: '../node-red-static'
}
出力先 outputDir を node-red-static フォルダに相対パスで指定したうえで、publicPath を ./ にすることでVue で生成されたソースを相対パスでたどれるようにします。
一度ビルドしてみる
npm run buildvue-node-red-view の Vue プロジェクト内で一度ビルドします。
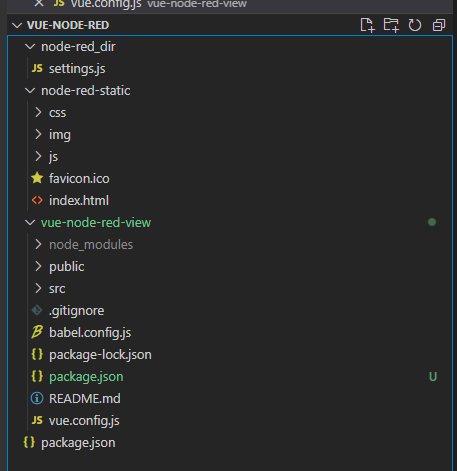
node-red-static フォルダにビルドされました。
Node-RED を起動して Vue にアクセスしてみる
cd ..一番上の階層に戻って、Node-RED を起動します。
npm run node-redこれは、この記事 で実現しているNode-RED を別ポート・別フローで個別実行するコマンドです。
起動したら http://127.0.0.1:18801/ にアクセスしてみましょう。

無事、Vue CLI で最初に作られたテンプレートが表示されました!
これで Node-RED のプロジェクト内で Vue 3 の基礎的な連携できたので、お互いにうまくコラボレーションして組んでいけそうです!